Friday, April 26, 2013

Attic Update: French Doors & Power

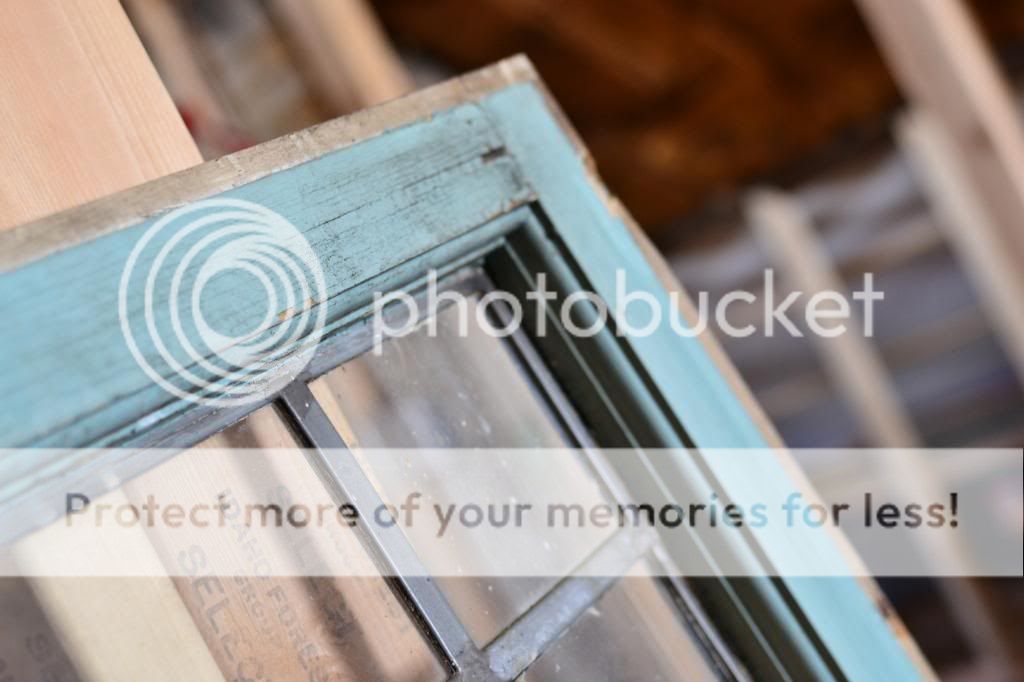
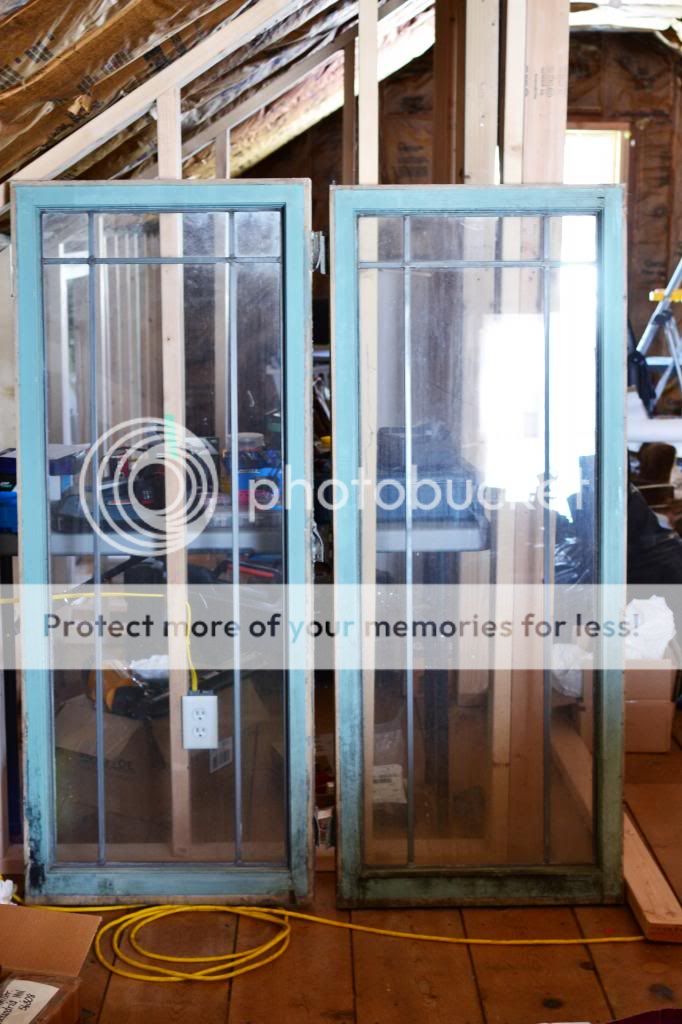
My cousin Keith & his wife Megan own an awesome old home in Michigan that they're renovating.  A couple of years ago when I was there, Keith showed us a shed full of all of the old windows from the house.  They weren't able to use all of them at their place, & they couldn't find anyone to take them off their hands, so I kindly volunteered to steal a few from them.  A few months later when they came to MN, they were nice enough to haul a few our way!

A year & a half later, I know just what I'm going to use two of them for...French doors!  They'll need a little TLC before they're functional as doors, but I'm super excited about how they're going to look.  First we have to sand them down, then add some length to the bottom with some sort of inlaid panel.  After that I'll paint them.  I have a few colors in mind, but nothing set in stone yet.  (The blue they are now is even pretty!)  :)

Aren't they awesome?!   Love.

In other news, the power is on!!!  No more extension cords down to the kitchen - woohoo!


Last night dad (nailing), myself (cutting), & Grady (carrying) worked on getting everything ready for drywall.  There was one small wall we had to finish framing in Eli's closet, as well as adding "nailers" to some corners so we have a solid place to screw the drywall into.

It seems like we've been working on the attic for months & not getting anywhere.  That's not true, of course, we ARE making progress...but from here on out I think it will actually start to FEEL like it.  (Drywall going up, floors getting finished, trim, stair rails, etc.) 

This weekend the plan is to frame up the doorway (the LAST bit of framing we have to do!) & install the platform for the bunk.  Here's the rest of the list:
  • build French doors
  • new window
  • foam board on peak
  • drywall (tape, mud, prime, paint)
  • planks on end walls & bunk
  • trim & board & batten walls
  • paint & hang lights
  • tear out stair door & header & repair
  • stain floor & stairs
  • put up stair rails & paint
  • build doors to under eave storage
  • closet systems
  • hardware (French doors & storage access)

Monday, April 22, 2013

Mini Makeover: Yarn Wrapped Lamp Cord

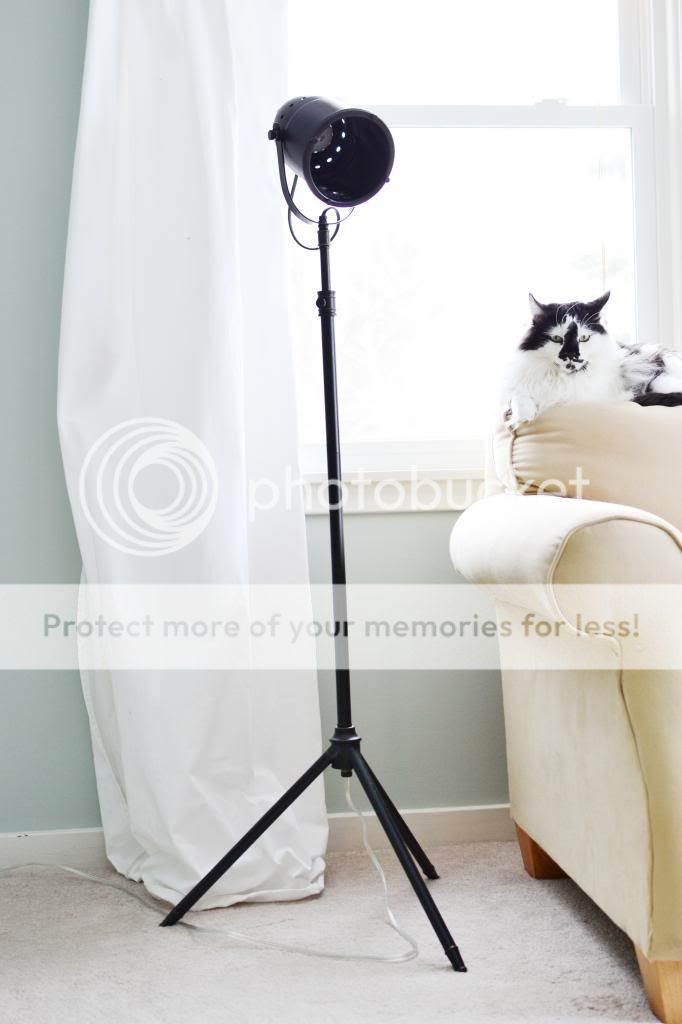
Amidst some craziness this weekend (a BAT in the house - ew!), I had time for a satisfying, quick little project.  Shortly after Christmas, with some Target gift cards, I bought a cool little floor lamp for reading.  (Our living room lighting is horrible.)  I really love the light, but the cord drove me insane.  It wasn't horrible, but I really don't like seeing cords...ever.  Is that just me or are there others with cord hate out there?

Anywhoo...here's what she looked like before her makeover:


See what I mean?  It's not horrible, but not at all pretty to look at either.  :)

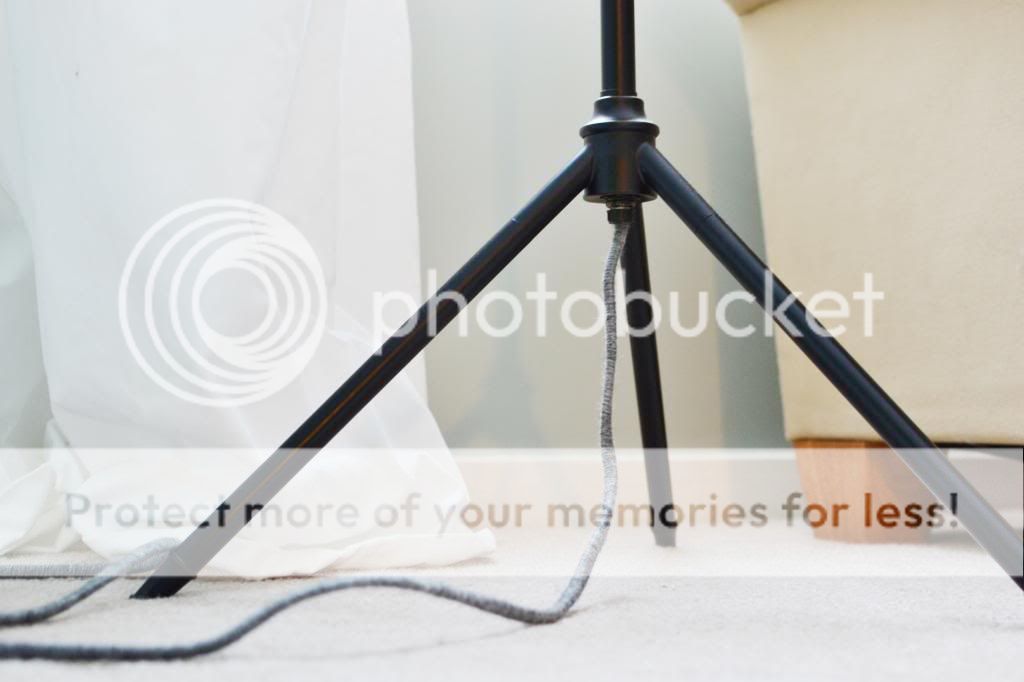
Enter heather gray yarn.  I just tucked the end under & wrapped the yarn around & around the cord until I reached the end.  Then I just tied it off a few times & called it good.


It's still a cord - but it's a pretty one now.

Simple things...

Tuesday, April 16, 2013

Snow{men} in April

According to the calendar it's spring...although you'd never guess it looking out the window.

Last Friday when we got home from work/daycare we made a couple of snowmen in the yard.  I had "cute" accessories picked out for them, but the boys had another idea...Husker snowmen...as in the Nebraska Cornhuskers.  Life with boys, what do you do?

The good news is that it's finally supposed to approach 50 degrees this weekend!  Sorry Mr. Snowman...here's hoping your time with us is brief.


I'm ready for flip flops, but I have to admit that it was pretty fun playing with these guys!

Monday, April 15, 2013

Getting wired

Our goal this weekend was to get the attic completely wired.  It didn't happen.  Instead, we spent most of the day Saturday hauling gallons upon gallons of water out of our basement.  I had gone down there to grab a paint roller (for another project) & discovered that the whole laundry room was under a few inches of water as well as a spare bedroom.  Awesome.

After cleaning everything out and getting rid of the water, we determined that it was actually coming up from the floor drain in the laundry room.  And coming up pretty quickly.  I called the city sewer department thinking that maybe all of the recent snow/rain/melting had caused some sort of blockage in the sewer.  They came out and took a look and said everything on that end looked fine.  So...we had to call a weekend plumber and he finally unblocked whatever it was "a really long way down there".  At least it was a plumbing issue & not coming in from somewhere else.

It quite literally threw a wrench into our weekend plans, though.  ;)

So exciting adding a hefty plumbing bill to the expenses during tax week.  (Sarcasm.)


Anyway...even though we didn't get to the wiring on Saturday, we did get quite a bit accomplished Sunday afternoon.

First, we dropped a weighted string down alongside the chimney to the utility room in the basement.


Then we nailed up the outlet boxes throughout the attic according to code.  I believe it was at least one on each wall greater that 4 feet wide, and no farther than 11 feet apart.  But don't quote me on that!


Next, we drilled holes in the studs for the wire to run through.


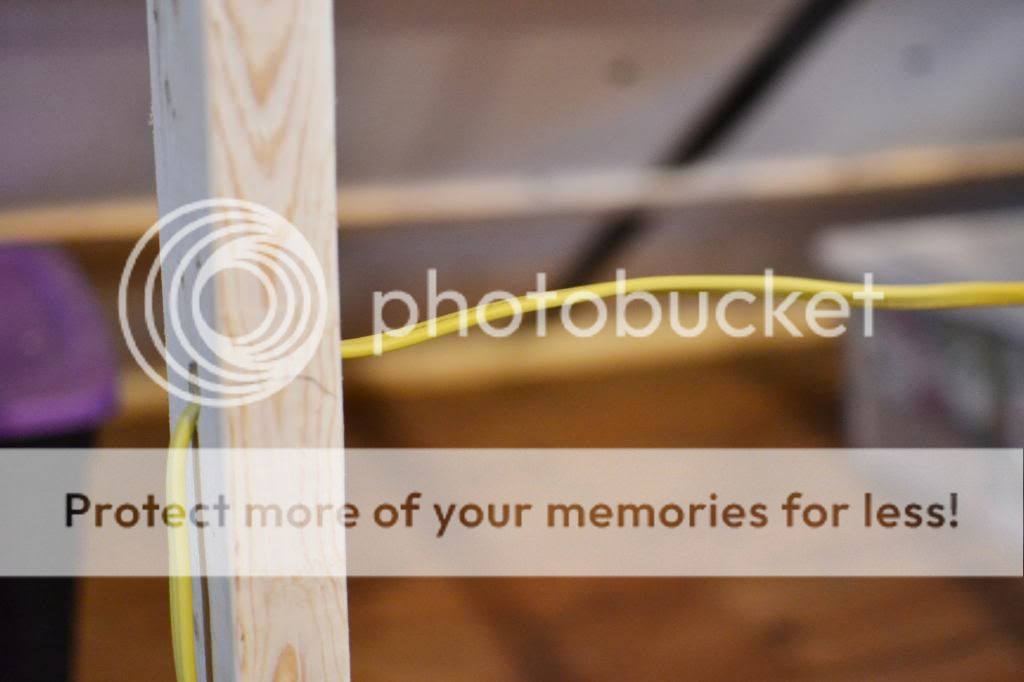
And ran the wire up the floor, & through the holes we drilled to the blue outlet boxes.


We've still got a few hours left of electrical work to do, but we made pretty good progress for one afternoon.  There's one more corner to run the wiring through, then we have to actually wire the outlets themselves in.  I'm hoping to have power (& cable) up there in the next couple of days!  (Dad's excited to watch the Twins while he works - no matter how much their pitching is struggling!)

Sometimes it seems like we're getting nowhere on this project...as we work on all of this "behind the scenes" stuff.  (Framing, insulation, wiring, leveling out, etc.)  I think that once we get this wiring done & move on to drywall that it'll finally start feeling like we're making some progress!  I can't wait to see how things come together!

Oh, and it'll also be nice not to have to run an extension cord through the house to the kitchen to get power either!

Wednesday, April 3, 2013

Easter in NE

We hopped on down to Nebraska this year again for Easter.  It's always nice to hang with our family from down "south"!  Not to mention it's more fun for Grady to have other kids his age around.  My side of the family doesn't have any "kids" under 26 that make it to our Easter dinner = incredibly boring for a 3 year old!

Easter morning we woke up at Grandma & Grandpa's new townhome & found Grady's basket.  He was spoiled.  He got the "Rise of the Guardians" dvd, a new basketball, a Bingo game, book, a couple of Star Wars candy eggs, and his favorite, a "Master Splinter" action figure.

After church, we headed out to Eli's aunt Amy & her family's house.  The weather was in the 60's (as opposed to 30's at home), so we spent most of the day hanging outside & enjoying the sun!

Now for some pictures...because that's the fun part!


Time to pack up the pastel colors until next Easter!

A nice bonus upon returning home...we can now see little patches of "grass" amidst all of the snow in our yard - woohoo!  I think the temp is supposed to reach the 40's today so hopefully more of that white stuff will disappear while I'm at work!

PS, Look who's project was featured on Apartment Therapy this week!!!  What an awesome surprise!

Thursday, March 28, 2013

Scrap wood art project

Grady's been home sick with a temp & cold all week.  (Another reason I'm ready for this winter to be over.)  As a parent, I feel awful when Grady isn't feeling well...but at the same time, it's kind of nice cuddling on the couch & spending quiet time together at home.  :)

We were looking for something to do to pass the time, & Grady suggested painting.  The kid LOVES to paint.  I didn't have any canvas board or nice paper, but found some old floor boards in the attic that we had just removed in order to take out an old fan & replaced with new plywood.  Use what you have!

Grady is in Easter mode, so he wanted to paint a bunny.  Correction, he wanted to paint the board, & wanted me to paint a bunny on it for him.  Here's what we came up with...the bunny was inspired by something we found on Google images.

The little artist "orange-washed" his board, then wanted to paint over it with pink, & leave a little bit of orange peeking through.  (PS, you can see the little slit of orange peeking through by the bunny's left ear - on your right.  Funny kid.)  His words, not mine.  Hehe.


After he was done with his orange & pink & white layers, I traced out a bunny & painted it with watered down craft paint.


It was looking a tad Precious Moments-y, so I tweaked the nose a bit & turned it into a rabbit nose.  I think it turned out pretty darn cute for being a collaborative piece of art by a 3 year old & a 30 year old!  The most important thing was that we had fun doing it together...


I wasn't sure at first what I wanted to paint on mine, so I started by cleaning off the surface & whitewashing it.  After a few minutes online I had found a quote from "Fantastic Mr. Fox" that I thought was cute & googled "fox illustration" to find an image to inspire me.

The quote reads: 

"We're all different.  Especially him.  But there's something kind of fantastic about that, isn't there?".


After whitewashing, I sketched out the quote & fox using my Burnt Umber colored watercolor pencil.  Back when I was doing mural painting we used these pencils all the time to sketch on the walls.  The color is perfect for blending in to almost any art, and any mistakes can just be wiped away with water!  You can find them at most art supply/craft stores.


I was trying to be imperfect & quick with this art.  I didn't want to commit too much time to it & knew that Grady's attention span wouldn't last that long anyway.  I quickly dry-brushed some color on the fox & painted the lettering with some watered down brown paint.  After I finished it was looking a little bold for my liking, so I whitewashed it again, right over what I had just painted.  I'm not sure where it'll go yet...probably in Grady's room?


Wednesday, March 27, 2013

Seeing Spots - Polka Dot Eggs!

This year we tried something new with our egg dying - dots!

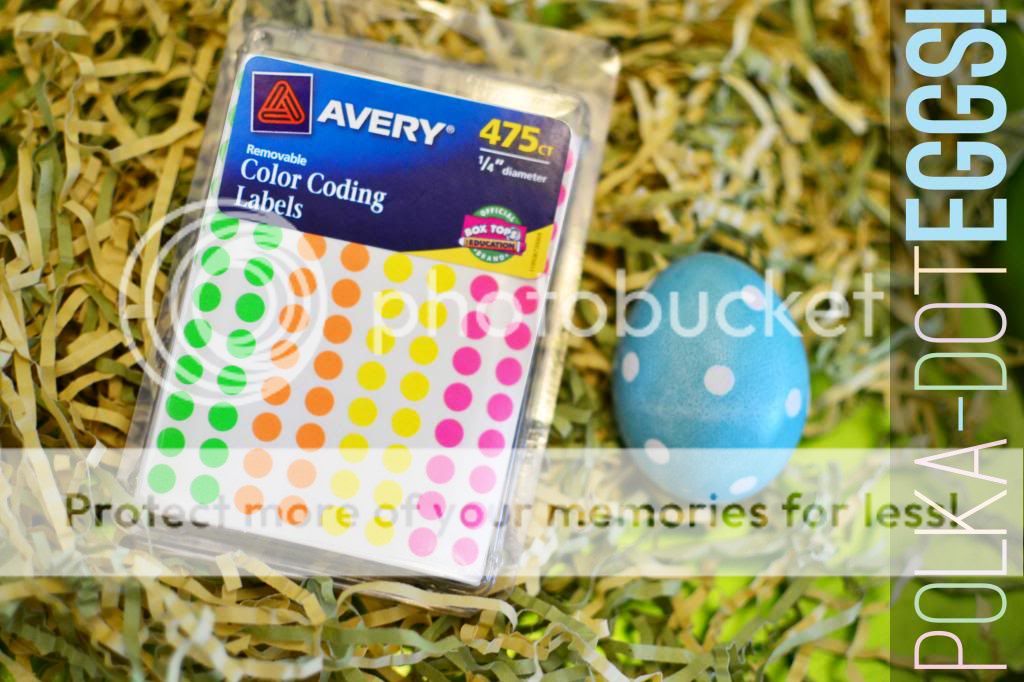
I'm sure it's been done before, but I had the idea to stick circle stickers on our eggs, hoping that the sticker would block the dye from seeping underneath & create polka dots once we peeled them off.  I kind of worked.

The stickers blocked the dye for the most part, although some of them did fall off once they were in the colored water/vinegar mixture.  The biggest issue was in taking the stickers off the eggs.  A couple of tips: f you did it too soon, the sticky backs of the stickers stayed on the egg instead of peeling off.  If you left the stickers on too long, they were really hard to peel off.  If we waited a few minutes (so the sticker was still a little damp) it seemed like they still came off easily enough, but didn't leave much sticky goo on the egg. 

It was super simple, Grady had fun with it, & I think they turned out pretty darn cute - winner!


Start with prep: I laid down some paper on our table, and set out the stickers, eggs, & dye first.


Next, we "dotted" all of our eggs, dunked them in the dye for a couple of minutes, dried them with a paper towel, waited a few minutes, & peeled all of the stickers off.


Some of us "accidentally" cracked the eggs so they could eat them.  I won't name any names, but you know who you are...& I have a feeling it wasn't 100% accidental.


Pretty darn cute, no?!


I have a feeling we'll be doing this again!!!
Blogging tips