We're slowly making progress on the attic...slowly. :)
May is a busy month for us with Eli wrapping up his tennis season, lots of birthdays, & Mother's Day. Not to mention the crazy amount of yard clean-up that we are stuck with every spring. Two giant oaks + garden beds galore = time.
In the attic we've been putting up "nailers" (extra boards to screw sheetrock into), building a door frame for the future French doors, & hanging foam board insulation on the ceiling & sloped walls for an added layer of protection to keep the warm & cool air in the house. It's not fun work, but it's laying the foundation. Soon we'll be hanging drywall!
If you squint hard enough you can kindof envision what it'll look like!
PS, I've got a couple of fun outdoor projects that I'll share later this week or early next week. (Think outdoor dining & window boxes!) It's so nice outside that it's hard to work indoors!
Tuesday, May 14, 2013
Wednesday, May 8, 2013
Pinterest Challenge: Reversible Painted Doormat
Posted by
Renee
Today's the day!!!
If y'all remember, my inspiration was a handful of wooden doormats from various sources.
I combined a bunch of them together to get a mat that jived a little better with my personal style. Without further ado, my "Reversible 2x2 Wooden Slat Doormat". How's that for a title?!
It took a bit of time...maybe 4-5 hours total? Maybe not even that long. But it was a super satisfying, fairly simple, & fun project to tackle!
First thing's first...prep:
After all of the paint was slapped on (I used something like 12 colors...all of which I already had on hand), I thought it was a little bright & new looking for my taste.
So, in came the old sander. (I started with a sanding block, but for the sake of every muscle in my arm, I quickly turned to my electric palm sander - much easier!)
Then I wiped another layer of stain right over the paint. (You can see the finished slats on the left, the un-stained slats on the right.)
Took it outside & sprayed a clear sealing coat on all sides of each slat. It took a little while if you count dry time, but I kept randomly coming back to it over the course of an afternoon to rotate & spray each side.
Look how brown our grass still is...the snow literally JUST melted.
After the clear coat had cured, I brought the slats inside to tie together. I measured out two lengths of rope that were each 2.5x (75ish inches) the overall width of the slats (30ish inches) to make sure to leave enough extra length for the knots between each slat as they use a lot more rope length that going straight from end to end would. (Hopefully that makes sense?)
I also taped of the end of each piece of rope so it slid through the holes easier & didn't unravel at all as I went down each row. I'm smart like that. :)
Then I strung the rope through, & tied knots between each slat so they didn't butt up against each other. Everyone needs their personal space.
Random strange thought: Let me just take a minute to ponder why, if we are supposedly evolved from apes, did we not keep their handy dandy grabby feet? I'm serious...if we indeed evolved into superior beings like a lot of folks believe, would we not have kept our "ancestors'" best qualities?! How often could you use anotherfoot hand? I've often thought about how nice it would be to have a tail too...better balance, could swing from branches, carry shopping bags, etc. Yeah, I'm weird...but think about it!
Case in point...if I had a monkey foot it would have been a whole lot easier holding the slats while pulling knots tight...just saying!
Moving on...
After my hands were raw & tired from tying 40ish knots, I was left with this beaut! Isn't she purty?! I'm so glad I sanded her down. I only wish I was aging as nicely...
Oh! And now for the reversible part...in case you're in a "natural" mood... I feel like it could be really cool in a bathroom. You know, if you sealed it with some Spar finish or something?
Also, be sure to check out what Emily, Katie, & Sherry did!
It's time to share your projects!
I combined a bunch of them together to get a mat that jived a little better with my personal style. Without further ado, my "Reversible 2x2 Wooden Slat Doormat". How's that for a title?!
It took a bit of time...maybe 4-5 hours total? Maybe not even that long. But it was a super satisfying, fairly simple, & fun project to tackle!
First thing's first...prep:
After all of the paint was slapped on (I used something like 12 colors...all of which I already had on hand), I thought it was a little bright & new looking for my taste.
So, in came the old sander. (I started with a sanding block, but for the sake of every muscle in my arm, I quickly turned to my electric palm sander - much easier!)
Then I wiped another layer of stain right over the paint. (You can see the finished slats on the left, the un-stained slats on the right.)
Took it outside & sprayed a clear sealing coat on all sides of each slat. It took a little while if you count dry time, but I kept randomly coming back to it over the course of an afternoon to rotate & spray each side.
Look how brown our grass still is...the snow literally JUST melted.
After the clear coat had cured, I brought the slats inside to tie together. I measured out two lengths of rope that were each 2.5x (75ish inches) the overall width of the slats (30ish inches) to make sure to leave enough extra length for the knots between each slat as they use a lot more rope length that going straight from end to end would. (Hopefully that makes sense?)
I also taped of the end of each piece of rope so it slid through the holes easier & didn't unravel at all as I went down each row. I'm smart like that. :)
Then I strung the rope through, & tied knots between each slat so they didn't butt up against each other. Everyone needs their personal space.
Random strange thought: Let me just take a minute to ponder why, if we are supposedly evolved from apes, did we not keep their handy dandy grabby feet? I'm serious...if we indeed evolved into superior beings like a lot of folks believe, would we not have kept our "ancestors'" best qualities?! How often could you use another
Case in point...if I had a monkey foot it would have been a whole lot easier holding the slats while pulling knots tight...just saying!
Moving on...
After my hands were raw & tired from tying 40ish knots, I was left with this beaut! Isn't she purty?! I'm so glad I sanded her down. I only wish I was aging as nicely...
Oh! And now for the reversible part...in case you're in a "natural" mood... I feel like it could be really cool in a bathroom. You know, if you sealed it with some Spar finish or something?
Also, be sure to check out what Emily, Katie, & Sherry did!
It's time to share your projects!
Wednesday, May 1, 2013
This is HUUUGE...
Posted by
Renee
It's time for the Pinterest Challenge again! You know, the brilliant creation that Sherry @Young House Love & Katie @Bower Power came up with to get all of us actually DOING all of those cool projects that we continually pin, but rarely act on!
Last challenge my dad & I built an ipod/iphone amp out of wood. It rocks. (Hehe...punny!)
Also, last fall I made a huge military style chalkboard map that my almost four year old loves.
Now for the other part of the announcement...drumroll, please...I get to co-host with these 3 lovely ladies this spring!!! How insanely amazingly awesome is that?!? Beyond excited.
Emily from Sparkle Meets Pop
Katie from Bower Power
Sherry from Young House Love
If you're not familiar with the Pinterest Challenge, it goes something like this:
- Take a look through your pins (or pin something new) that you want to try. No project is too big or too small!
- Complete your project by Wednesday, May 8th.
- Post about it on your blog, or take some photos to share in the comment section.
- Come back here around 10am on May 8th (& also to Emily, Katie, & Sherry's corners of the interweb) to link up & share your finished project with all of us!
- Feel free to grab the banners off the top of this post to use on your own blog.
- Remember to link not only to the pin where you got your inspiration, but also to the original source - spread the love!
- Pinterest doesn't know about this challenge (or endorse, sponsor, etc.) - it's just plain fun!
Sources:
one: Yellow Brick Home
two: French Bull (No longer available)
three: How Does She
four: Martha Stewart
five: Lowes Creative Ideas
I can't wait to see what you all come up with!
Friday, April 26, 2013
Attic Update: French Doors & Power
Posted by
Renee
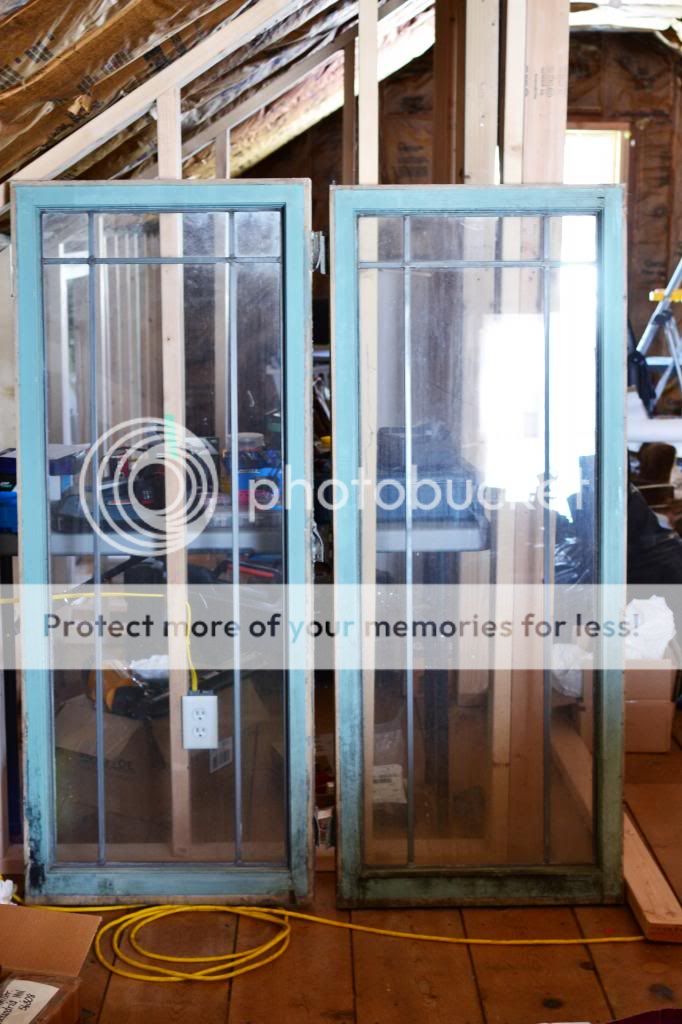
My cousin Keith & his wife Megan own an awesome old home in Michigan that they're renovating. A couple of years ago when I was there, Keith showed us a shed full of all of the old windows from the house. They weren't able to use all of them at their place, & they couldn't find anyone to take them off their hands, so I kindly volunteered to steal a few from them. A few months later when they came to MN, they were nice enough to haul a few our way!
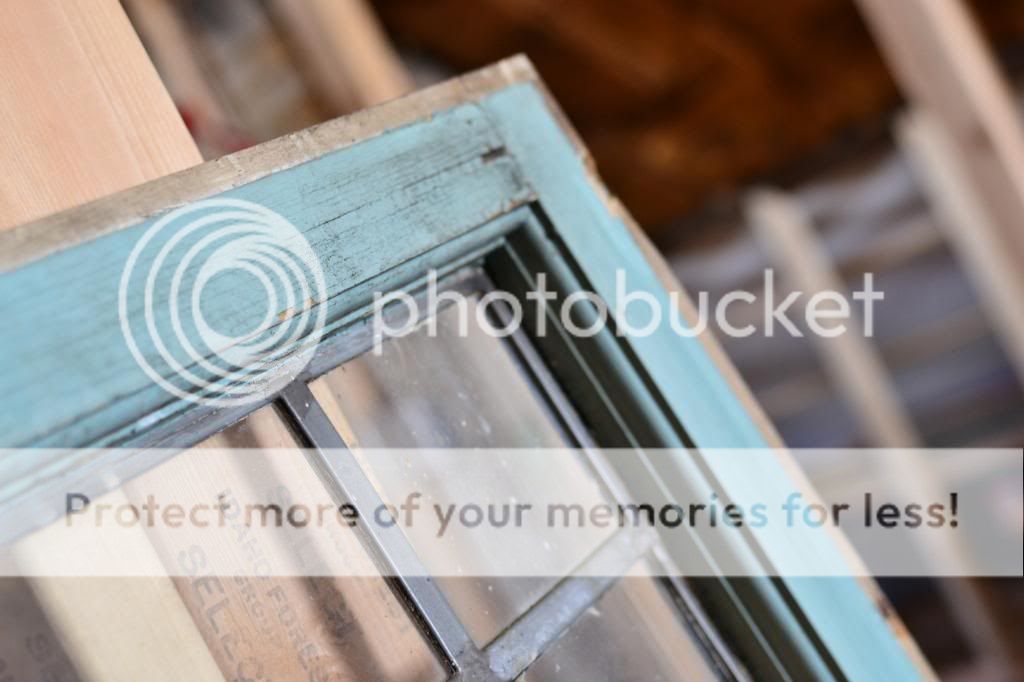
A year & a half later, I know just what I'm going to use two of them for...French doors! They'll need a little TLC before they're functional as doors, but I'm super excited about how they're going to look. First we have to sand them down, then add some length to the bottom with some sort of inlaid panel. After that I'll paint them. I have a few colors in mind, but nothing set in stone yet. (The blue they are now is even pretty!) :)
Aren't they awesome?! Love.
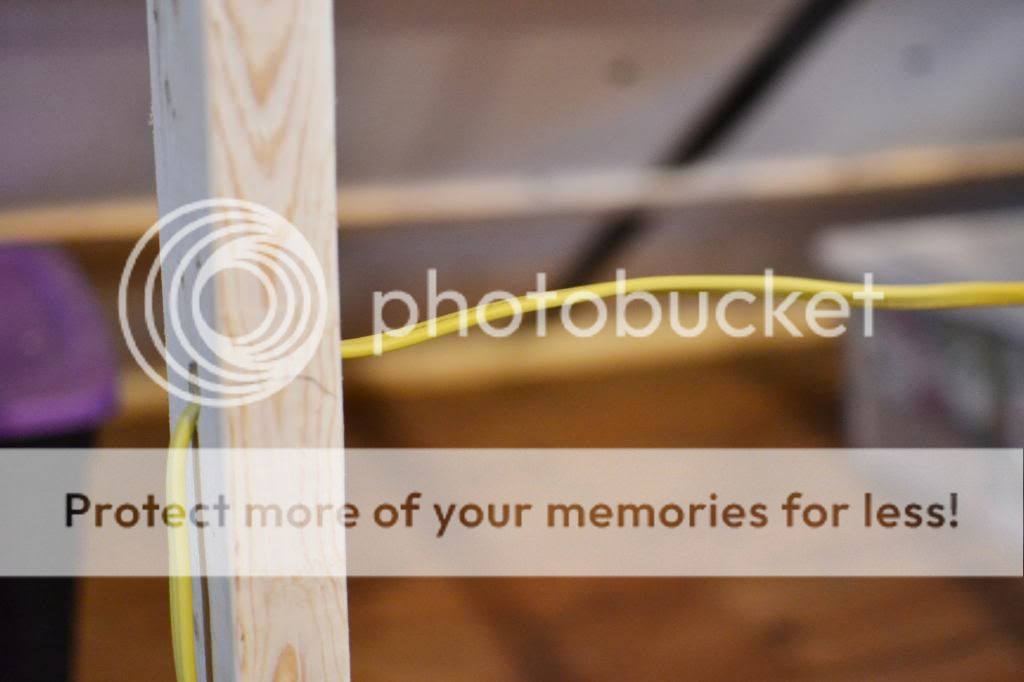
In other news, the power is on!!! No more extension cords down to the kitchen - woohoo!
Last night dad (nailing), myself (cutting), & Grady (carrying) worked on getting everything ready for drywall. There was one small wall we had to finish framing in Eli's closet, as well as adding "nailers" to some corners so we have a solid place to screw the drywall into.
It seems like we've been working on the attic for months & not getting anywhere. That's not true, of course, we ARE making progress...but from here on out I think it will actually start to FEEL like it. (Drywall going up, floors getting finished, trim, stair rails, etc.)
This weekend the plan is to frame up the doorway (the LAST bit of framing we have to do!) & install the platform for the bunk. Here's the rest of the list:
A year & a half later, I know just what I'm going to use two of them for...French doors! They'll need a little TLC before they're functional as doors, but I'm super excited about how they're going to look. First we have to sand them down, then add some length to the bottom with some sort of inlaid panel. After that I'll paint them. I have a few colors in mind, but nothing set in stone yet. (The blue they are now is even pretty!) :)
Aren't they awesome?! Love.
In other news, the power is on!!! No more extension cords down to the kitchen - woohoo!
Last night dad (nailing), myself (cutting), & Grady (carrying) worked on getting everything ready for drywall. There was one small wall we had to finish framing in Eli's closet, as well as adding "nailers" to some corners so we have a solid place to screw the drywall into.
It seems like we've been working on the attic for months & not getting anywhere. That's not true, of course, we ARE making progress...but from here on out I think it will actually start to FEEL like it. (Drywall going up, floors getting finished, trim, stair rails, etc.)
This weekend the plan is to frame up the doorway (the LAST bit of framing we have to do!) & install the platform for the bunk. Here's the rest of the list:
- build French doors
- new window
- foam board on peak
- drywall (tape, mud, prime, paint)
- planks on end walls & bunk
- trim & board & batten walls
- paint & hang lights
- tear out stair door & header & repair
- stain floor & stairs
- put up stair rails & paint
- build doors to under eave storage
- closet systems
- hardware (French doors & storage access)
Monday, April 22, 2013
Mini Makeover: Yarn Wrapped Lamp Cord
Posted by
Renee
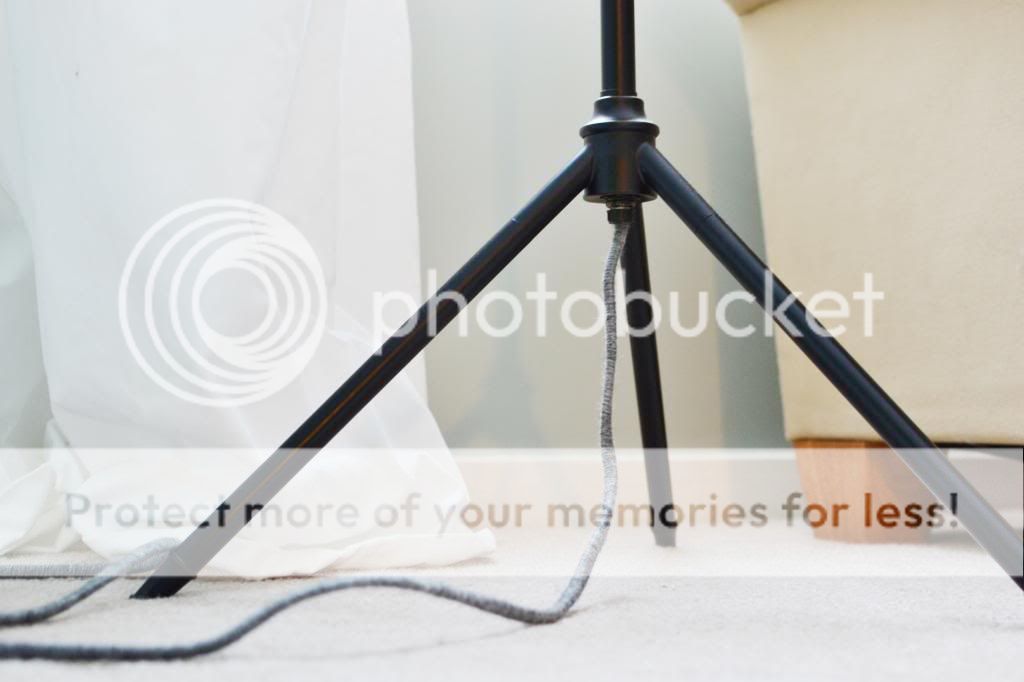
Amidst some craziness this weekend (a BAT in the house - ew!), I had time for a satisfying, quick little project. Shortly after Christmas, with some Target gift cards, I bought a cool little floor lamp for reading. (Our living room lighting is horrible.) I really love the light, but the cord drove me insane. It wasn't horrible, but I really don't like seeing cords...ever. Is that just me or are there others with cord hate out there?
Anywhoo...here's what she looked like before her makeover:
See what I mean? It's not horrible, but not at all pretty to look at either. :)
Enter heather gray yarn. I just tucked the end under & wrapped the yarn around & around the cord until I reached the end. Then I just tied it off a few times & called it good.
It's still a cord - but it's a pretty one now.
Simple things...
Anywhoo...here's what she looked like before her makeover:
See what I mean? It's not horrible, but not at all pretty to look at either. :)
Enter heather gray yarn. I just tucked the end under & wrapped the yarn around & around the cord until I reached the end. Then I just tied it off a few times & called it good.
It's still a cord - but it's a pretty one now.
Simple things...
Tuesday, April 16, 2013
Snow{men} in April
Posted by
Renee
According to the calendar it's spring...although you'd never guess it looking out the window.
Last Friday when we got home from work/daycare we made a couple of snowmen in the yard. I had "cute" accessories picked out for them, but the boys had another idea...Husker snowmen...as in the Nebraska Cornhuskers. Life with boys, what do you do?
The good news is that it's finally supposed to approach 50 degrees this weekend! Sorry Mr. Snowman...here's hoping your time with us is brief.
I'm ready for flip flops, but I have to admit that it was pretty fun playing with these guys!
Last Friday when we got home from work/daycare we made a couple of snowmen in the yard. I had "cute" accessories picked out for them, but the boys had another idea...Husker snowmen...as in the Nebraska Cornhuskers. Life with boys, what do you do?
The good news is that it's finally supposed to approach 50 degrees this weekend! Sorry Mr. Snowman...here's hoping your time with us is brief.
I'm ready for flip flops, but I have to admit that it was pretty fun playing with these guys!
Monday, April 15, 2013
Getting wired
Posted by
Renee
Our goal this weekend was to get the attic completely wired. It didn't happen. Instead, we spent most of the day Saturday hauling gallons upon gallons of water out of our basement. I had gone down there to grab a paint roller (for another project) & discovered that the whole laundry room was under a few inches of water as well as a spare bedroom. Awesome.
After cleaning everything out and getting rid of the water, we determined that it was actually coming up from the floor drain in the laundry room. And coming up pretty quickly. I called the city sewer department thinking that maybe all of the recent snow/rain/melting had caused some sort of blockage in the sewer. They came out and took a look and said everything on that end looked fine. So...we had to call a weekend plumber and he finally unblocked whatever it was "a really long way down there". At least it was a plumbing issue & not coming in from somewhere else.
It quite literally threw a wrench into our weekend plans, though. ;)
So exciting adding a hefty plumbing bill to the expenses during tax week. (Sarcasm.)
Anyway...even though we didn't get to the wiring on Saturday, we did get quite a bit accomplished Sunday afternoon.
First, we dropped a weighted string down alongside the chimney to the utility room in the basement.
Then we nailed up the outlet boxes throughout the attic according to code. I believe it was at least one on each wall greater that 4 feet wide, and no farther than 11 feet apart. But don't quote me on that!
Next, we drilled holes in the studs for the wire to run through.
And ran the wire up the floor, & through the holes we drilled to the blue outlet boxes.
We've still got a few hours left of electrical work to do, but we made pretty good progress for one afternoon. There's one more corner to run the wiring through, then we have to actually wire the outlets themselves in. I'm hoping to have power (& cable) up there in the next couple of days! (Dad's excited to watch the Twins while he works - no matter how much their pitching is struggling!)
Sometimes it seems like we're getting nowhere on this project...as we work on all of this "behind the scenes" stuff. (Framing, insulation, wiring, leveling out, etc.) I think that once we get this wiring done & move on to drywall that it'll finally start feeling like we're making some progress! I can't wait to see how things come together!
Oh, and it'll also be nice not to have to run an extension cord through the house to the kitchen to get power either!
After cleaning everything out and getting rid of the water, we determined that it was actually coming up from the floor drain in the laundry room. And coming up pretty quickly. I called the city sewer department thinking that maybe all of the recent snow/rain/melting had caused some sort of blockage in the sewer. They came out and took a look and said everything on that end looked fine. So...we had to call a weekend plumber and he finally unblocked whatever it was "a really long way down there". At least it was a plumbing issue & not coming in from somewhere else.
It quite literally threw a wrench into our weekend plans, though. ;)
So exciting adding a hefty plumbing bill to the expenses during tax week. (Sarcasm.)
Anyway...even though we didn't get to the wiring on Saturday, we did get quite a bit accomplished Sunday afternoon.
First, we dropped a weighted string down alongside the chimney to the utility room in the basement.
Then we nailed up the outlet boxes throughout the attic according to code. I believe it was at least one on each wall greater that 4 feet wide, and no farther than 11 feet apart. But don't quote me on that!
Next, we drilled holes in the studs for the wire to run through.
And ran the wire up the floor, & through the holes we drilled to the blue outlet boxes.
We've still got a few hours left of electrical work to do, but we made pretty good progress for one afternoon. There's one more corner to run the wiring through, then we have to actually wire the outlets themselves in. I'm hoping to have power (& cable) up there in the next couple of days! (Dad's excited to watch the Twins while he works - no matter how much their pitching is struggling!)
Sometimes it seems like we're getting nowhere on this project...as we work on all of this "behind the scenes" stuff. (Framing, insulation, wiring, leveling out, etc.) I think that once we get this wiring done & move on to drywall that it'll finally start feeling like we're making some progress! I can't wait to see how things come together!
Oh, and it'll also be nice not to have to run an extension cord through the house to the kitchen to get power either!
Subscribe to:
Posts (Atom)