He was so excited for all of his friends to come over that he literally waited by the window for a solid hour. Then he waited on the front steps for another half hour. :) I love him so much.


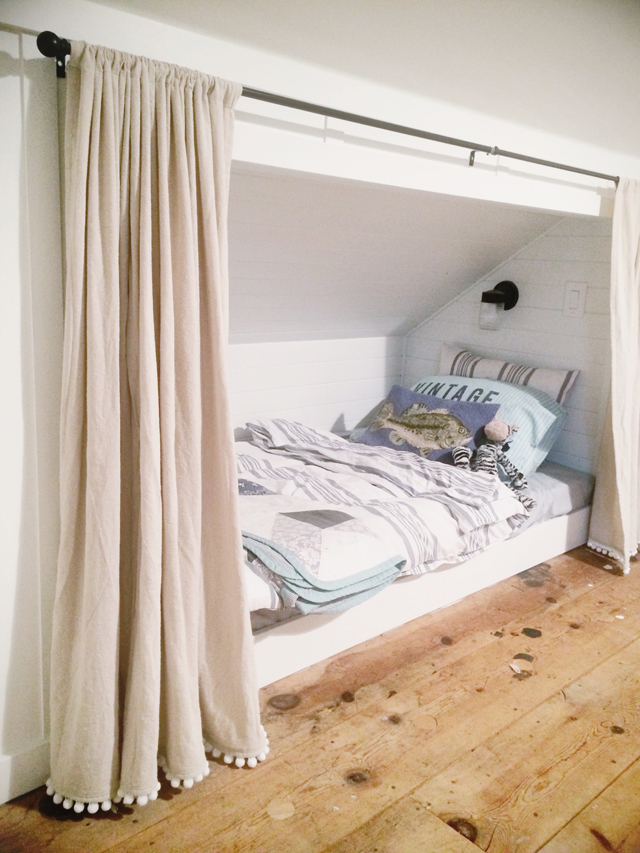
We had originally planned to have the party outside, but the forecast threatened rain, so my mom & I scrambled to get the attic cleaned up, floor painted, & closets curtained over two LATE nights.


We drug a table & our dining room benches up to the bedroom (since it wasn't yet furnished), & set up food & games in there.


We only played a couple of games (the attention span of 3-8 year olds varies!)...one of which was a version of "pin the tail on the donkey" using running Grady's and a T-Rex.

I googled "T-Rex drawing" & sketched out one of the images that popped up in an old frame we had lying around.


Getting ready to make his birthday wish while his friends sing to him! He's the sweetest boy. He'll make the best boyfriend someday - no lie!


We got the dinosaur hats at a dollar store in Nebraska. I searched EVERYWHERE for them. They were a hit!

Rawr!

I said..."RRRRRAAAAAAWWWWRRRRRRRRRRR!"

The party was a blast, but exhausting! Good thing birthdays only come once a year...
Happy birthday sweet boy. I'm SO lucky to be your mama.