Here's what our dining room table looks like. It was pretty easy to sew a "slipcover/tablecloth/whatever" for it because it's a simple rectangle. A little more precision would have to go into making a fort for underneath a round or oval table, but it still wouldn't be hard by any means.
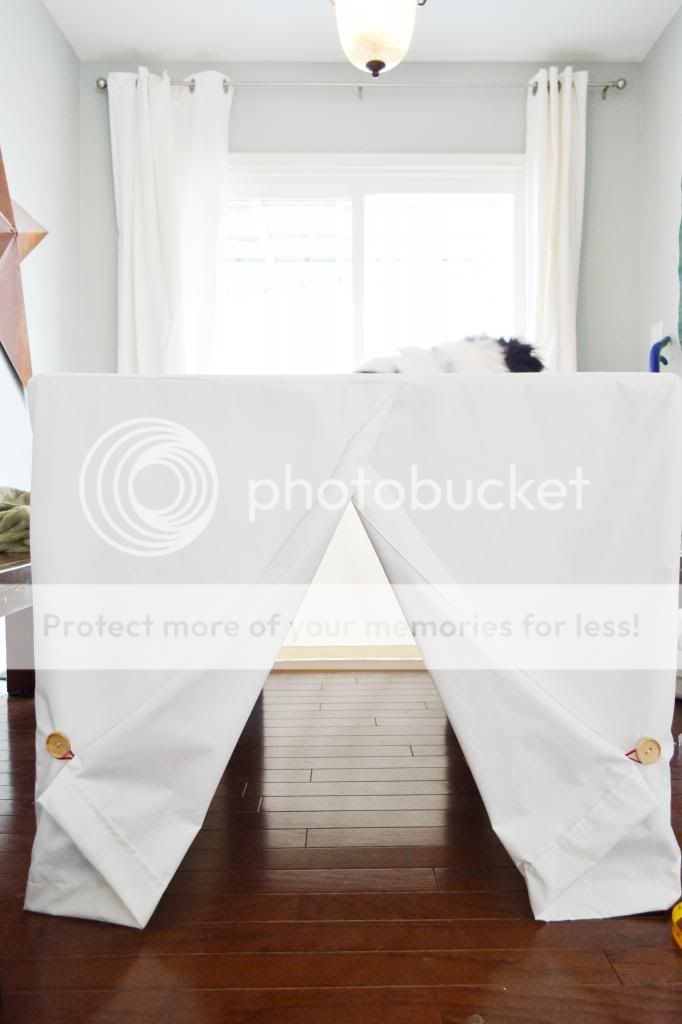
I started by cutting out a rectangle the size of our table top & added 2 inches for seam allowance & some extra wiggle room. I didn't want it to be difficult to slip on and off. Then i cut out a very long (18 foot) piece of fabric to wrap around all four sides of the table and overlap a few inches in the front where the door opening would be. (One looonnnggg piece = less sewing.) I attached two buttons and loops on either side of the door so Grady would be able to hook the doors open if he wanted to. Easy peasy & took maybe an hour to sew from start to finish. (And maybe 10 minutes to string the lights underneath.)
And for good measure, a picture of the outside...don't mind the cat sleeping on top, as I've mentioned before, his nickname is "art cat" & he's ALWAYS in the middle of projects. He just can. not. resist. :)
There's something totally magical about forts. I still remember one specific "pirate ship" fort that my brother & I created when we were little that we were never able to replicate again no matter how many times we tried. It was epic! I wish my mom would have taken a picture before we cleaned it up! :)


No comments:
Post a Comment