
I'm not sure if it was standard practice back then, but the roof-supporting studs on the two sloped sides of the attic were randomly spaced at around 4 feet apart. Today, you'd normally put a stud up every 16". Plenty of support, and easy to hang drywall as you'll always know where there's a stud, and perhaps more importantly, 8 feet and 4 feet are both divisible by 16 inches...perfect for hanging drywall/sheetrock without making a bazillion cuts.
Anywhoo...after 67 years of the roof being supported by too few studs, it was sagging just a little in the middle. By just a little I mean an inch or two...not really a big deal (the roof wasn't going to come crashing down or anything), but enough so that my perfectionist dad had to bring over his arsenal of hydraulic jacks so we could get busy "raising the roof". Quite literally. :)
Excuse the poor iphone pics...I didn't feel like running downstairs to grab the "nice" camera! (Hopefully dad doesn't mind the "booty shot" either...hehe!)
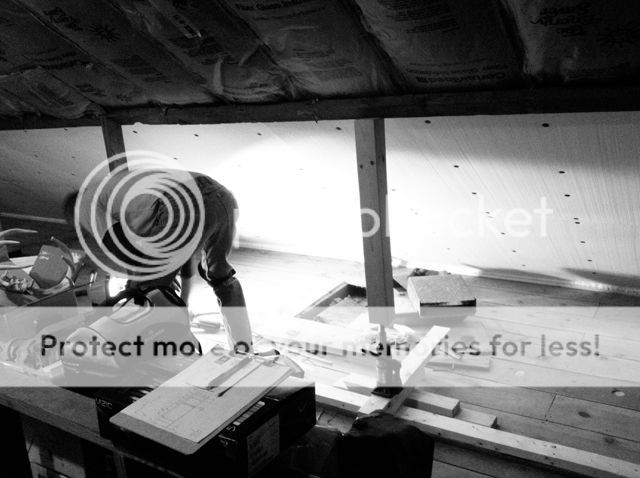

First we jacked up one end of the roof on a handy little platform that allowed us (dad) to knock out the old studs in the area, and slip a level, "nailer" 2x4 underneath the jack and on the floor so we'd have a nice surface to nail the new studs to. Hence the name, "nailer".
After that was in place, we made sure the roof was level, and cut 2x4's to the correct height and pitch of the roof, slid them in at 16" apart, used the nail gun to attach them to the nailer and the roof, and repeated this process down the lengths of both sides of the attic.
It's a lot of extra work moving jacks and making sure things are perfectly level, but if you're doing something, you might as well do it right...right? Plus, it'll save headaches and look better down the line.
I'm hoping that over the course of the rest of the week/weekend we can finish up all of the framing (one wall in Eli's closet, the frame around the French doors, some access panels for the storage areas) and maybe get started on wiring for the outlets. It'll be SO nice to have power up there (we already have light) and not have to run extension cords down to the kitchen!
After that, we only have a few more things to do (sarcasm):
- Finish hanging foam board insulation on the roof.
- Hang drywall (tape/mud/sand).
- Prime & paint walls & ceiling.
- Hang lights.
- Paint & hang trim.
- Finish floor.
- Paint & install new stair railings.
- Paint & stain stairs.
- New window (last one in the house!).
- Install closet systems.
- Build & hang French doors.
- Build doors to under eave storage.
- Tear out door to main level & repair drywall.
Reminded me of your project:
ReplyDeletehttp://www.designsponge.com/2013/04/before-after-minenapolis-attic-makeover.html
Yes! Totally reminds me of ours...except we aren't able to take out the rafters and have that awesome peak! Hopefully our floors will look like that when it's all done! ;)
DeleteHello! I came over to check out your blog after seeing you on Bower Power's and YHL's blogs with the Pinterest Challenge (lucky you!). After checking out many other posts, I figured I needed to comment instead of continue blog stalking you. :) Anyway... we have a house with an upstairs "attic" area too that the previous homeowner put carpet and paint in but not much else. It was functional as a room but only if you wanted to be hot in the summer and cold in the winter. We completely gutted it, used spray foam insulation (awesome stuff!), new windows, everything and now love our new master suite (bed area, one smallish walk in closet, one gigantic closet/dressing area, a bathroom, an office, and a TV area, plus two large storage areas. You can see more of it at http://thebrickbungalow.blogspot.com/search/label/upstairs%20remodel It kind of reminds me of yours in the angles of the ceilings and short walls.
ReplyDeletesexy call girl in kolkata
ReplyDeletekolkata model escorts