Thursday, January 31, 2013

Fort-tastic!

We've had a REAL cold couple of weeks here & because of the weather haven't had much of a desire or opportunity to play outside.  (Boo.)  The resulting boredom inspired Grady & I to create a fun little fort for him under our dining room table.  I didn't have a pattern & just kind of winged it with supplies we had at home, but I think it turned out pretty cute!  (PS, Grady likes it too.)

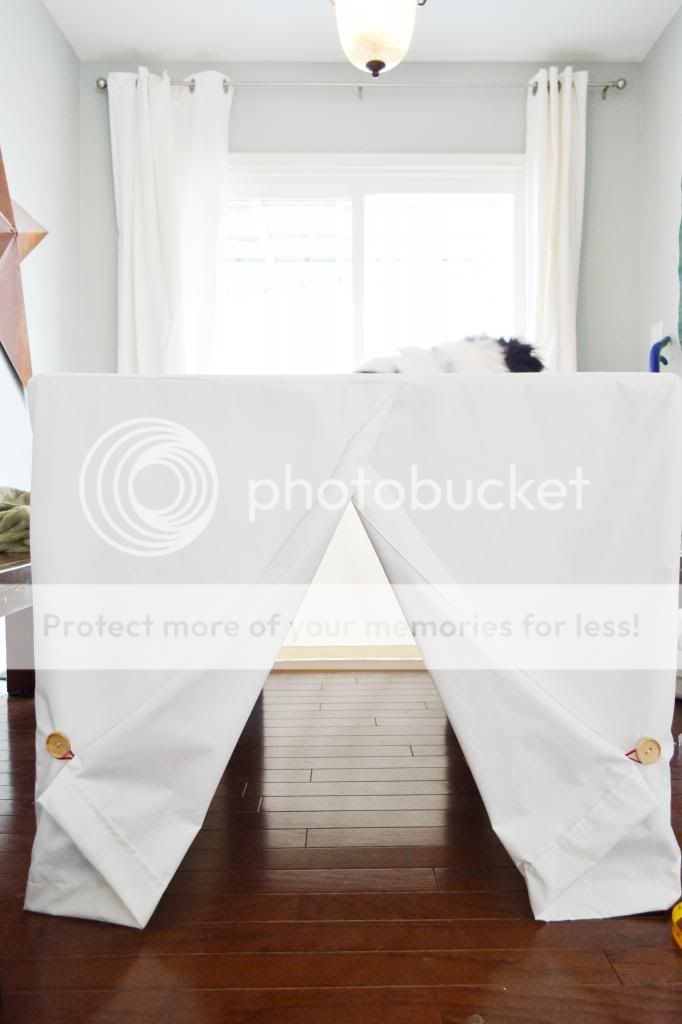
Here's what our dining room table looks like.  It was pretty easy to sew a "slipcover/tablecloth/whatever" for it because it's a simple rectangle.  A little more precision would have to go into making a fort for underneath a round or oval table, but it still wouldn't be hard by any means.


I started by cutting out a rectangle the size of our table top & added 2 inches for seam allowance & some extra wiggle room.  I didn't want it to be difficult to slip on and off.  Then i cut out a very long (18 foot) piece of fabric to wrap around all four sides of the table and overlap a few inches in the front where the door opening would be.  (One looonnnggg piece = less sewing.)  I attached two buttons and loops on either side of the door so Grady would be able to hook the doors open if he wanted to.  Easy peasy & took maybe an hour to sew from start to finish.  (And maybe 10 minutes to string the lights underneath.)


And for good measure, a picture of the outside...don't mind the cat sleeping on top, as I've mentioned before, his nickname is "art cat" & he's ALWAYS in the middle of projects.  He just can. not. resist.  :)


There's something totally magical about forts.  I still remember one specific "pirate ship" fort that my brother & I created when we were little that we were never able to replicate again no matter how many times we tried.  It was epic!  I wish my mom would have taken a picture before we cleaned it up!  :)

Wednesday, January 23, 2013

Insulation Contortionism

I feel like I haven't posted in ages.  Probably because we're just starting to thaw out a little bit here in the frozen tundra.  Temperatures are thhiiiiiiissss close to being a positive number.  A couple of days ago we woke to -14 temps - brrr!  It's -1 today but feels like -24 because of the WIND!  Remind me why I live here again!?!

Anyhoo...dad & I have been focusing on getting the attic insulated & air tight these past couple of weeks.  We thought we had it sealed up pretty good until we went to put the foam board insulation on this weekend & felt a chilly draft coming through.  Ughh.  That meant another trip to Menards to pick up a couple of bags of mica insulation & a few more hours of scooting around under the eaves stuffing it down into cracks.  It was a total pain, but I'm glad it was a windy day & we could feel that draft now as opposed to discovering it after the entire attic is finished.  Sidenote: I was blowing insulation chunks out of my nose all day Sunday...probably should have worn a mask.  You live, you learn.  {Hopefully some of you can learn from me...wear a mask!}

Ok, so here's dad in that eave/crawl space stuffing that mica insulation down.  (Enter the contortionism I mentioned earlier.)  It's hard to tell from this angle, but it's a tight fit getting down in there!  That sawdust/sand looking stuff by his hands is the insulation.  We had to push it down in the corner handful by handful.  Fun stuff!


After we finished that type of insulation down the length of the house, we moved on to the foam board.  (We've just got 2x4s for the roof "trusses", so there isn't much room for insulation between them...the foam board will add another layer of insulation to keep us toasty warm in the winter & cool in the summer.)

Of course the rafters aren't 16" on center (that would have just been to easy), so we had to cut down the foamboard to fit down there.  Not hard at all, just more work.


A couple of days later & we're finished with that portion of the insulation.  My homework is to shop-vac the floor down there & get some of the attic clutter stored away to give us more room to work in the bedroom & on the landing.  Progress is progress, no matter how small!


Oh, I almost forgot!  After we had gotten all of the foam insulation hung, we took a few 1x3s & nailed them down in the corner where the roof meets the floor.  This gives us another layer of protection from any drafts that manage to work their way in, as well as acting as a barrier to keep that loose mica insulation inside the wall/floor where it's supposed to stay & not getting itself all over the items that we'll store in that area.

After I get my behind in gear & organize this space, our next steps are as follows:
  • Rewire lights.
  • Repair/replace old insulation.
  • Frame out closets.
  • Fill gaps under eaves with loose insulation. (finished on west, still need to do east)
  • Foam board insulation on all ceiling surfaces. (finished under west eave, still need to do east eave & center)
  • Frame out under eave storage & built-ins as well as door jamb.
  • Wire for electrical outlets.
  • Drywall (hang, tape, mud, sand).
  • Wood planks on north & south walls.
  • Hang lights.
  • Baseboards, window & door trim.
  • Knock out stairwell door.
  • Paint & install stair railings.
  • Prime & paint walls & ceiling.
  • Closet systems.
  • Finish built-ins.
  • Flooring?
Remember, this is what I envision for the space.

My goal is to get it all completed by the end of April.  I think that's totally doable.  Right???

Thursday, January 10, 2013

Christmas Morning Fun

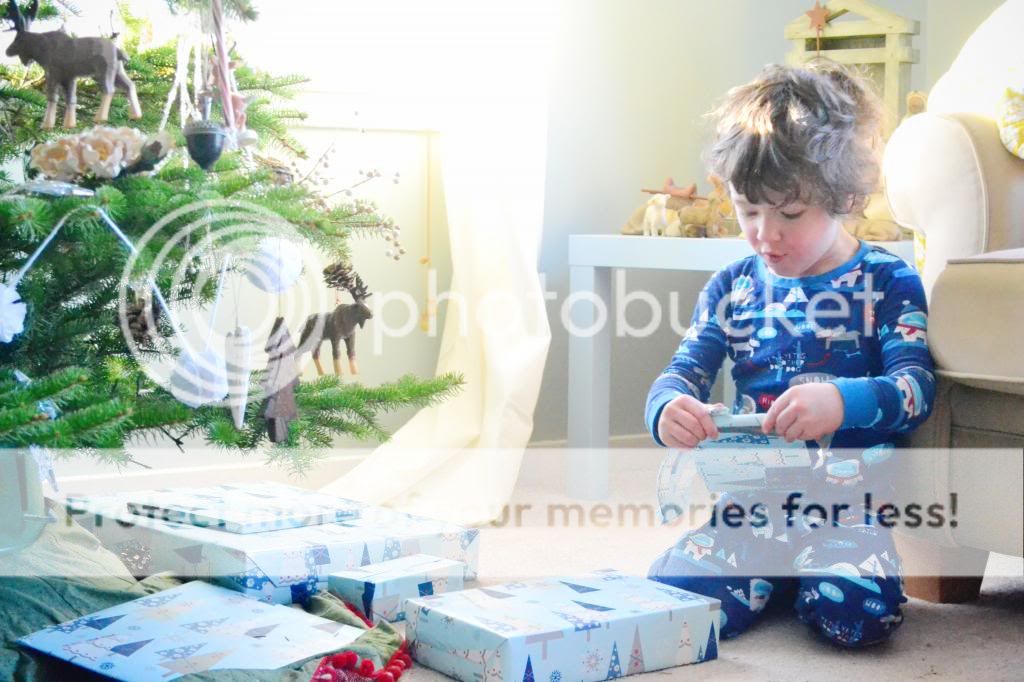
I was so excited for this Christmas for a few reasons.  First, it was Grady's first time waking up on Christmas morning at our house.  I couldn't wait to have him wake up to discover that Santa had been to our house, had eaten the cookies & milk we had set out for him, & had left a few gifts in our stockings!  Second, Grady is 3.5 now, & TOTALLY gets the whole Christmas thing.  He was old enough this year to feel the magic & really enjoy everything about it.  Lastly, we got to have our extended family Christmas at my parents' house right here in town!  Not everyone made it, but the crew that came was super fun.

A couple of quick pictures of Christmas morning at the Starzl house...


We really try to limit the amount of gifts we get him as he really doesn't need anything at all.  We don't ever really have a budget either...instead we just try to find a few things that we know he'll really love.  There's nothing super unique as he's a pretty easy kid to please!  Here's a breakdown of what we bought this year:

1. Michaelangelo Ninja Turtle action figure (Did you know that we couldn't find Leo at any of our local stores, or anywhere in the whole city of Omaha...crazy!)
2. Cars 2 Diecast Cars (he's got quite the collection going!)
3. Mini Marshmallow Shooter (Doesn't work real well - kind of a disappointment.  We'll have to try stale or frozen mallows as the "chute" gets too sticky!)
4. Art Lab book (I've heard great things...can't wait to try some projects!)
5. Ninja Turtles movie 4-pack (so funny that these guys are back.)
6. Lego Batcave (he'd been asking for this since September.)

All of my links are from Amazon, but we found a lot of the stuff at Target, Walmart, & Toys 'R Us.

Monday, January 7, 2013

Christmas Cookies!

Only a couple more Christmas posts left...I promise!

One of my favorite Christmas traditions is making cutout sugar cookies.  I remember making them every year growing up...& how fun it was decorating each shape.  The candlesticks were my favorite!  Now my favorites are the Christmas lights & the doves as well as making mini cookies for Santa's elves.  :)

Grady really got into it this year.  He poured all of the ingredients into the mixer himself (except for the egg), & mixed up the powdered sugar frosting too!  He went for more of the abstract/tie-dyed look on his cookies which turned out pretty awesome.  I tried to keep things simple by only doing 4 basic colors of frosting with a few sprinkles, although if it were just me frosting them I'd probably have had every color in the rainbow!  :)


Grady's special request was that I make him a "cock robin" cookie...from one of his favorite obscure nursery rhymes.  See his tie-dyed candy cane back there?!  He's such an artist!  ;)


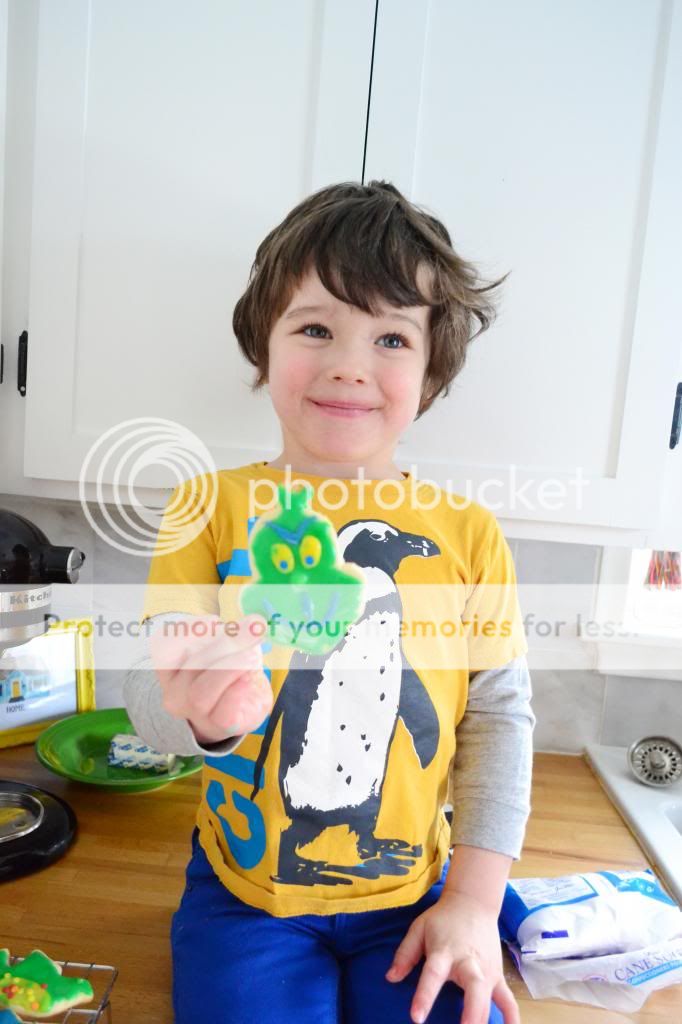
There was just enough dough left over to make a special cookie just for Grady.  His new favorite Christmas book this year was "How the Grinch Stole Christmas", so I frosted a little Grinch head for him.  Loved it!


Maybe I should have made more than one...

Thursday, January 3, 2013

Photo Garland

Right before Christmas I printed out a bunch of 4x6 pictures from our photo shoot.  I obviously didn't want 25 framed pictures up in our house, but I wanted to display some of our favorites...& not commit to anything permanent (or expensive). 

Grady had just gotten a present that had a green ribbon tied around it, which made me wonder if I could do some type of garland, but with pictures pinned to it.  I started collecting a few random supplies from around the house - some white string & gray yarn as well as a few felt flowers I had left over from the wreath project.

I ended up hanging it with paper tape from my tin mirror in the living room.  I wasn't sure how it was going to turn out, but I kind of love it!  Best of all - it was free other than the cost of the prints!  :)


I hope everyone had a safe & happy New Year!  We were stuck in Omaha at my in-laws' house, too sick to travel.  It seems like every kind of icky stuff is going around.  We're finally feeling a little bit better today, so hopefully we can get some stuff accomplished this weekend.  The most important of which is getting Grady's room organized again after bringing home all of his Christmas gifts - ughh!  There's just too much!

Blogging tips